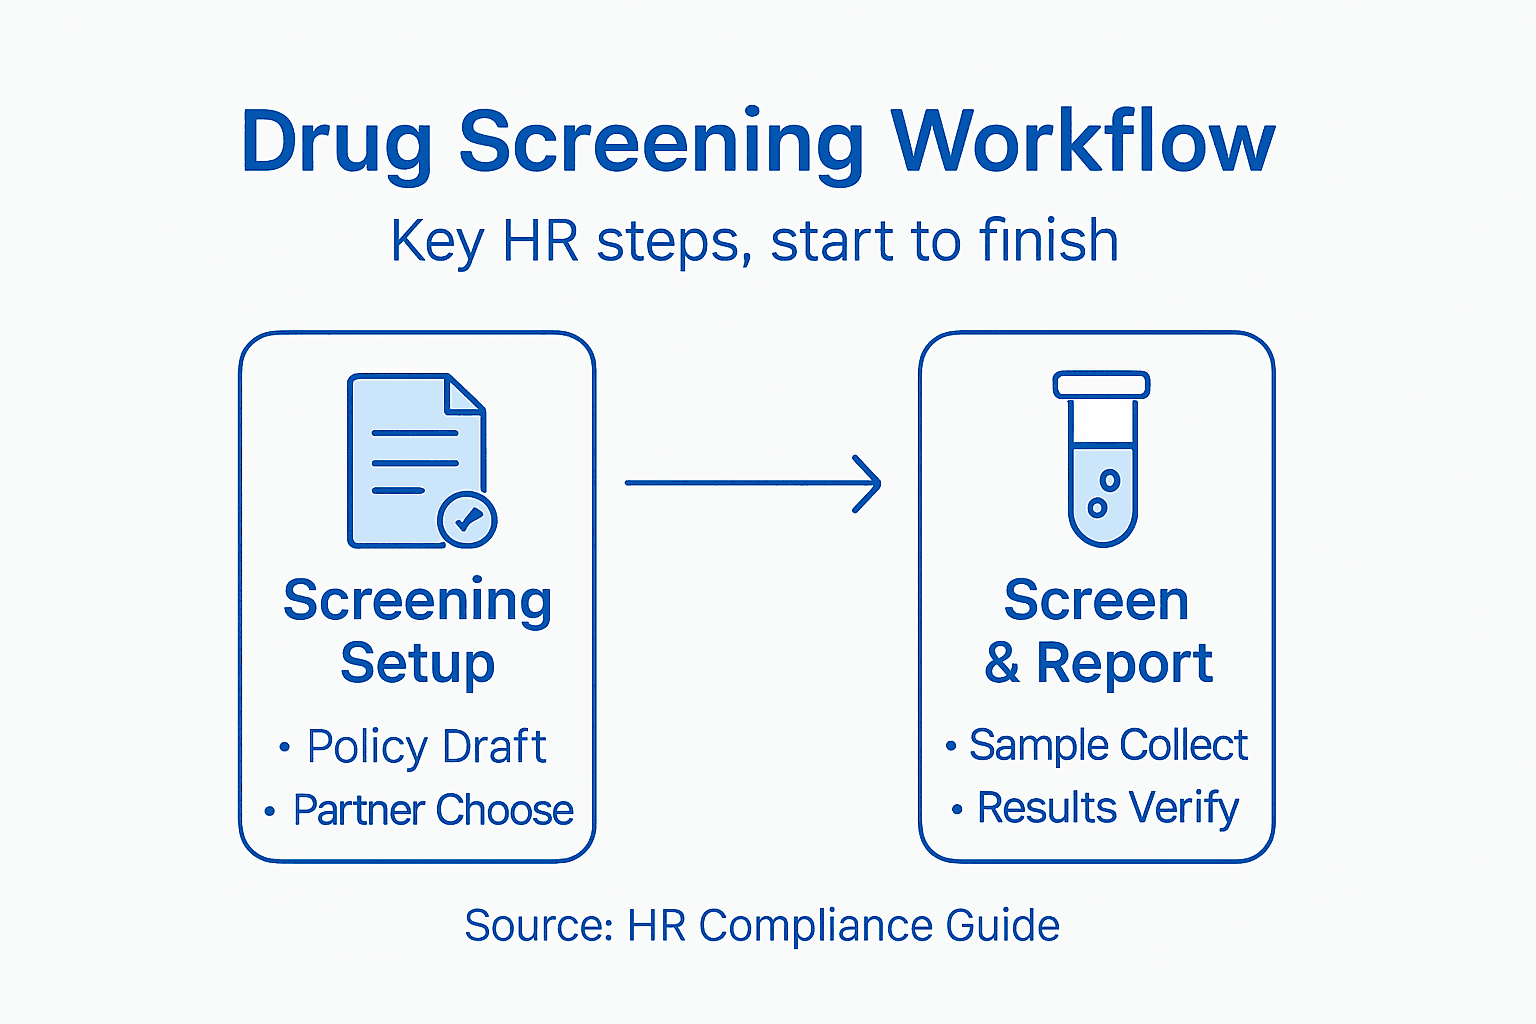
Step by Step Drug Screening Workflow for HR Managers
Managing drug screening across several American logistics sites can quickly become a confusing patchwork of policies and procedures. HR managers know that gaps in compliance open the door to legal risk, operational disruptions, and employee confusion. By building a workflow that follows both federal and state rules—and references trusted resources like FDA guidance and international standards—you empower your team to create a legally protected, transparent process. This guide outlines each step to establish a consistent, defensible, and efficient drug screening protocol across every location.
Table of Contents
- Step 1: Establish Compliant Drug Screening Protocols
- Step 2: Select Trusted Testing Products and Partners
- Step 3: Implement Sample Collection Procedures
- Step 4: Ensure Secure Sample Handling and Transport
- Step 5: Verify Laboratory Analysis and Reporting
Quick Summary
| Key Insight | Explanation |
|---|---|
| 1. Establish compliant protocols | Create clear drug screening protocols that follow legal regulations and protect both employees and the company. |
| 2. Select reliable lab partners | Choose accredited laboratories to ensure accurate and legally defensible test results. |
| 3. Implement consistent collection | Standardize sample collection procedures to avoid legal issues and maintain sample integrity at all locations. |
| 4. Ensure proper sample handling | Maintain a strict chain of custody from collection to lab delivery to prevent test result invalidation. |
| 5. Verify lab results thoroughly | Review lab reports for completeness and accuracy, and ensure confirmatory testing for positive results. |
Step 1: Establish compliant drug screening protocols
Establishing a compliant drug screening protocol is the foundation of your entire testing program. This step sets the legal framework and operational standards that everything else in your logistics company will follow. You are essentially creating the rulebook that protects both your organization and your employees while meeting all regulatory requirements.
Start by reviewing drug testing laws that apply to your operations, including federal regulations for safety-sensitive positions and state-specific requirements that may be stricter than federal standards. Logistics companies operating across multiple states face particularly complex compliance requirements, so understanding your specific jurisdictional landscape is non-negotiable. Reference the FDA guidance documents on compliant screening protocols and the UNODC prevention standards which provide evidence-based frameworks for designing testing programs that align with international norms and best practices.
Your protocol should clearly define when you will conduct testing: pre-employment screening for all drivers and warehouse staff, reasonable suspicion testing when managers observe behavioral indicators, post-accident testing following workplace incidents, return-to-duty testing for employees completing rehabilitation programs, and random testing for positions involving vehicle operation or hazmat handling. Document the specific reasons and circumstances that trigger each type of test, so your managers understand exactly when they need to initiate screening. Include details about how you’ll maintain chain of custody, which labs you’ll partner with, and how quickly employees will receive results. Specify whether employees can request retesting through a Medical Review Officer (MRO) and establish your policy on what happens if an employee tests positive. Will first-time offenders enter a rehabilitation program with a follow-up test, or does one positive result lead to termination? This clarity prevents inconsistent enforcement and protects your company from discrimination claims.
Make sure your protocol addresses privacy protections throughout the testing process. Employees need to know their test results are confidential and accessed only by authorized personnel. Establish clear procedures for how you’ll store test records separately from employee personnel files and who has access to this sensitive information. Your protocol should also address reasonable accommodations for employees with disabilities or medical conditions that might affect testing procedures, while still maintaining the integrity of your screening program.
Before implementation, have your legal team review the complete protocol to verify compliance with Americans with Disabilities Act requirements, state privacy laws, and union agreements if applicable. Run through a practice scenario with your HR staff and a sample of managers to identify gaps or confusing instructions. Many logistics companies discover procedural issues during a trial run rather than during actual testing, so this dry run is invaluable.
Pro tip: Build your protocol using a template that includes placeholder language for your specific company details, then customize it for your state and industry, which cuts development time in half and ensures consistency across your testing procedures.
Step 2: Select trusted testing products and partners
Choosing the right testing products and laboratory partners is where your compliance framework meets reality. This decision directly impacts the accuracy of your results, the defensibility of your testing program in legal disputes, and ultimately whether your logistics operation can trust the data driving your employment decisions.
Start by identifying laboratories that meet or exceed federal standards. Look for partners accredited by SAMHSA, ISO, CLIA, or CAP, which ensure they follow rigorous protocols and maintain strict chain of custody procedures. When evaluating potential lab partners, ask specific questions about their experience with logistics companies, their turnaround times for results, and how they handle Medical Review Officer (MRO) consultations when employees dispute results. Reference resources about laboratory drug testing procedures to understand the forensic standards your partner should maintain. Military drug test laboratories exemplify the rigor you should expect from any trusted partner, utilizing validated methods that exceed civilian requirements and maintaining documentation practices that withstand legal scrutiny.
For in-house initial screening products, you have several options depending on your testing strategy. Some logistics companies use urine drug tests for pre-employment screening because they detect a wider range of substances and cost less per test. Others prefer oral fluid tests for reasonable suspicion testing because they are harder to adulterate and provide faster results. Mouth swab tests work well for post-accident testing since they can be administered immediately at the accident scene. When evaluating specific products, verify they appear on the FDA approved drug testing products list to confirm regulatory approval and reliability. Don’t simply choose based on price. A cheaper test that produces ambiguous results costs far more in time, re-testing, and potential liability than a higher-quality product that gives clear answers your managers can act on with confidence.
Here’s how common drug test types compare for logistics companies:
| Test Type | Detection Range | Adulteration Risk | Typical Use Cases |
|---|---|---|---|
| Urine Drug Test | Broad (multiple days) | Moderate | Pre-employment |
| Oral Fluid Test | Short (hours to days) | Low | Reasonable suspicion |
| Mouth Swab Test | Immediate recent use | Very low | Post-accident |
Build relationships with at least two laboratory partners as backups. If one partner experiences equipment failure or experiences a surge in testing volume from other clients, you need an alternative to avoid delays that disrupt your hiring timeline. Establish written agreements specifying response times, result delivery methods, cost per test for different testing types, and what happens if results are delayed or disputed. Schedule quarterly check-ins with your lab partners to discuss any changes in their operations, new capabilities they offer, or concerns about test accuracy or turnaround times. Many HR managers neglect this ongoing relationship management and then scramble when a crisis emerges.
Test your testing process before full rollout. Order sample kits from your selected lab partner and conduct a practice run with a small group of volunteers, documenting everything from collection to result delivery. This dry run identifies gaps in your process, trains your collection staff, and reveals how your chosen laboratory actually performs under realistic conditions rather than idealized scenarios.
Pro tip: Request performance metrics from your lab partner including their average result turnaround time, dispute rate, and corrected result percentage, then compare these numbers across your backup partner options to make data-driven decisions rather than relying on sales pitches alone.
Summary of lab partner performance indicators to monitor:
| Metric | What It Reveals | Actionable Insight |
|---|---|---|
| Turnaround Time | Speed of result delivery | Identify delays or bottlenecks |
| Dispute Rate | Frequency of result challenges | Assess testing reliability |
| Corrected Result % | Accuracy of initial findings | Compare partner quality |
Step 3: Implement sample collection procedures
Proper sample collection is where your entire drug screening program either succeeds or falls apart. If your collection procedures are sloppy, inconsistent, or fail to document properly, even accurate lab results become legally indefensible. Your goal here is to create a standardized process that every location in your logistics operation follows identically, eliminating the gray areas that employees might exploit or that could undermine your testing program in court.
Begin by designating trained collection personnel at each facility. These individuals need more than a casual understanding of the process. They must learn how to identify signs of sample tampering, how to properly label and document specimens, how to maintain chain of custody, and how to treat employees with dignity while enforcing strict procedures. Reference sample collection guidelines from international anti-doping standards that outline detailed procedures for compliant and secure sample collection, including roles, responsibilities, equipment, and sample handling protocols. While these guidelines focus on athletic contexts, the fundamental principles of sample integrity and documentation directly apply to workplace screening. Your collection staff should understand that they are not medical professionals but rather integrity custodians responsible for preventing adulteration and maintaining the evidentiary chain.
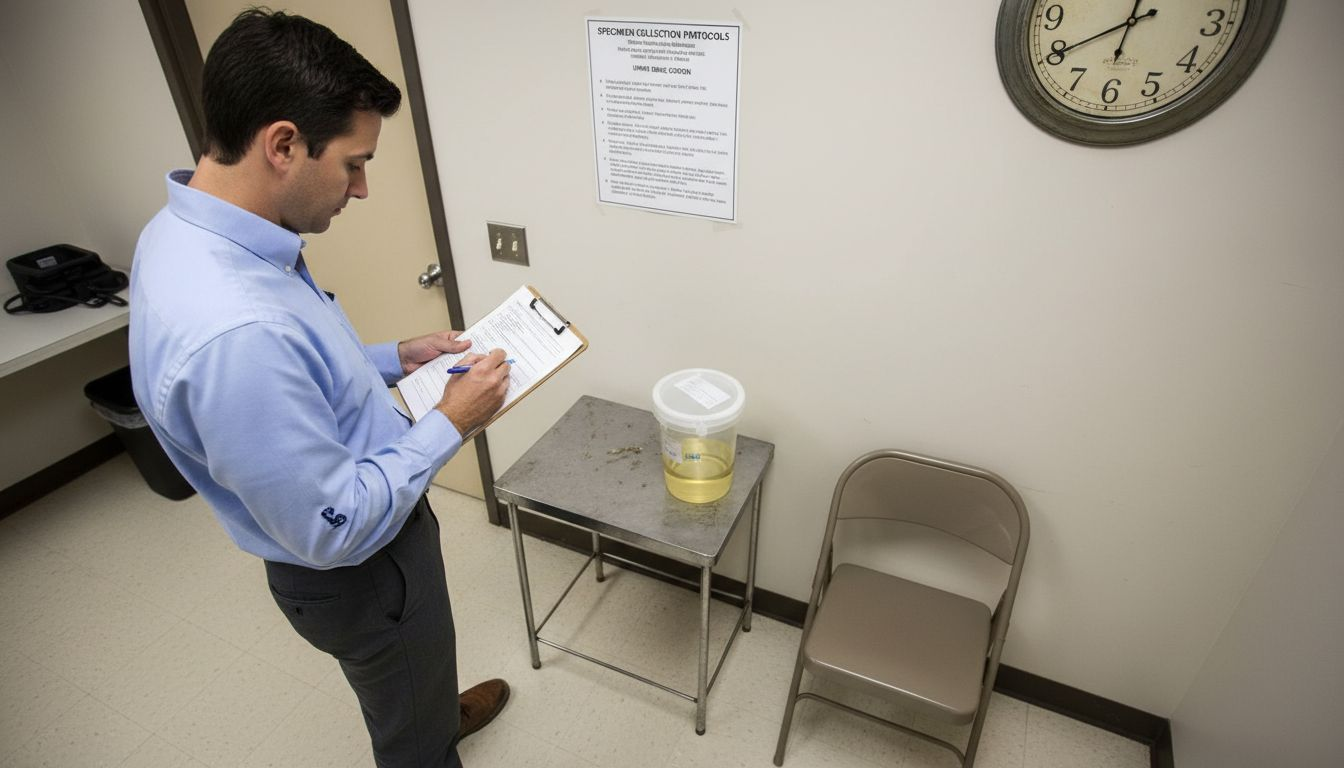
Develop written procedures that specify exactly what happens from the moment an employee learns they are being tested until the sample reaches your lab partner. Include details about bathroom monitoring for urine tests, time limits for sample provision, acceptable reasons for delays, and how you will handle refusals. Specify what personal items employees can bring into the collection area and establish a clear process for employees to report any concerns about the collection process itself. Reference specimen collection and handling procedures that emphasize adherence to infection control standards and proper labeling requirements for biological samples. Your procedures should cover how collection staff will handle samples that appear diluted, contain visible contaminants, or fail initial validity checks. Will you immediately recollect, or does the sample go to the lab for review? Consistency matters more than perfection here. Create a simple one-page checklist that your collection staff can reference during the actual collection process to ensure nothing gets missed.
Physical setup of your collection areas requires attention too. Collection rooms need privacy to prevent employee embarrassment while maintaining the security measures necessary to prevent tampering. Ensure adequate lighting so collection staff can properly observe and document the sample. Keep the collection area stocked with properly functioning equipment and backup supplies. Establish a log where collection staff records every test conducted, including the employee name, date, time, collector name, and any unusual circumstances. This documentation becomes crucial if an employee later disputes whether they were tested fairly or challenges the sample validity.
Train your collection staff at least annually and whenever procedures change. After major incidents where testing goes wrong, conduct retraining focused on the specific failure points. Make collection staff aware that their procedures directly impact whether your company can legally enforce testing results and that inconsistent collection undermines everyone downstream including your HR department and the laboratories you partner with.
Pro tip: Create a monthly audit process where your HR manager randomly selects three completed collections and verifies that all documentation was completed correctly, collection room conditions met standards, and chain of custody was maintained unbroken, which catches and corrects staff deviations before they become habitual problems.
Step 4: Ensure secure sample handling and transport
Once your collection staff has gathered a sample, the chain of custody becomes your legal foundation. A broken chain at any point, no matter how minor it seems, can invalidate an entire test result and expose your company to wrongful termination lawsuits. This step is about creating an unbroken documentary trail from collection through laboratory analysis that no employee or attorney can challenge.
Immediately after collection, your staff must document the sample with unique identifiers that link directly to the employee being tested. Use sequential barcodes or numbered labels rather than relying on handwritten names, which can be misread or altered. Reference sample chain of custody protocols that detail how to maintain strict documentation from collection to laboratory receipt, preventing tampering and preserving sample integrity throughout the entire process. Create a custody form that travels with the sample, documenting every person who touches it, when they received it, what they did with it, and when they transferred it to the next person. The form should have space for signatures and timestamps. This form becomes the physical evidence that your sample was never left unattended or handled improperly. If an employee later claims the sample was tampered with or switched, you have documented proof of exactly who had access and when.
Storage conditions matter significantly. Different sample types require different storage approaches. Urine samples should typically be kept at room temperature or refrigerated depending on how long before shipment to the laboratory. Oral fluid samples have shorter viability windows and may require immediate refrigeration. Follow your laboratory partner’s specific storage requirements exactly. Improper storage can degrade samples and lead to invalid results even if the collection was flawless. Store samples in a secure location with restricted access, preferably a locked cabinet or refrigerated unit that only authorized collection staff can access. Install a simple log on the storage area where staff records when samples enter and exit, creating another layer of documentation.
When shipping samples to your laboratory partner, use the packaging materials and methods they specify. Many laboratories provide preprinted shipping kits designed to meet hazardous materials regulations and prevent sample leakage. Reference specimen transport procedures that comply with regulatory standards and international shipping certifications, ensuring specimens remain uncontaminated during transit. Use overnight shipping services that provide tracking numbers so you can verify when samples arrive at the laboratory. Track your shipments and reconcile the samples you sent with the samples the laboratory received. If a sample appears lost or arrives damaged, document this incident and follow your protocol for recollection if needed. Never skip this verification step or assume the laboratory received everything you shipped.
For logistics companies with multiple facilities spread across different regions, consider sending all samples to a central location before final shipment to the laboratory. This consolidation approach reduces the number of individual shipments and provides a single point where you can verify all samples are properly labeled and documented before final transport. However, this adds a step that requires secure storage and additional handling, so evaluate whether the benefits outweigh the complexity for your specific operation.
Pro tip: Create a simple spreadsheet that tracks every sample from collection date through laboratory result receipt, including collection location, employee name, collection staff member, shipment date, tracking number, and result date, which provides instant visibility into any bottlenecks and makes it impossible to lose track of samples in transit.
Step 5: Verify laboratory analysis and reporting
Your laboratory partner’s results are only as good as your ability to verify their accuracy and understand what they mean. This step is about ensuring the laboratory performed legitimate analysis using validated methodologies and that their reports are complete, accurate, and defensible in any legal challenge. You cannot simply trust results blindly and file them away.
When results arrive from your laboratory, review them for completeness before taking any action based on the findings. The report should include the employee name, employee identification number, specimen type, collection date, received date, analysis date, specific substances tested for, result status for each substance, and the signature of the responsible analyst. Look for any notation indicating that the sample failed validity testing, which means the specimen was diluted, substituted, or otherwise compromised. If the report lacks required information or contains vague language, contact your laboratory partner immediately and request a corrected report. Verify that the laboratory performing the analysis is certified under the National Laboratory Certification Program (NLCP), which ensures laboratories meet stringent quality standards through proficiency testing and corrective action monitoring, making them reliable for workplace drug screening. Ask your lab partner for proof of their current certification and maintain copies in your testing program documentation.
Understand what positive, negative, and dilute results actually mean. A negative result means no drugs above the testing threshold were detected. A positive result indicates the presence of a specific substance. A dilute result means the sample was too dilute to provide reliable results, typically requiring recollection. Familiarize yourself with the specific cutoff levels your laboratory uses, as these determine whether a sample tests positive or negative. The federal Department of Transportation has established minimum cutoff levels for safety-sensitive positions, but laboratories may use higher thresholds. Know your company’s policy on how many times an employee can retest before a dilute result is treated as a failure. Reference the guidance on how laboratory drug testing works to understand the analytical methodologies your laboratory employs and how confirmation testing validates positive results. Most legitimate laboratories use a two-step process where an initial screening test is confirmed by a more sophisticated analytical method, ensuring accuracy.
For any positive result, verify that the laboratory conducted confirmatory testing using a different analytical method than the initial screening. This confirmation step prevents false positives and provides the legal defensibility you need if an employee challenges the result. Request detailed information about the confirmatory method used and the scientist who performed it. Some laboratories provide Medical Review Officer (MRO) services that add another layer of verification by having a physician review the result and contact the employee to discuss potential legitimate explanations, such as prescription medications that could create a positive result for certain substances. If your laboratory does not provide MRO services, you may need to contract with an independent MRO for this critical review step.
Document your review of each laboratory report, including the date you received results, who reviewed them, and any questions or concerns that arose. Create a simple checklist that your HR team uses for every report to ensure consistency and catch errors. If you identify discrepancies between what you sent the laboratory and what they analyzed, investigate immediately. If the laboratory cannot explain the discrepancy satisfactorily, consider requesting that samples be reanalyzed by an independent laboratory before taking employment action based on results.
Establish a process for employees to request retesting through an independent laboratory if they dispute results. Many employees have legitimate reasons to question results, and providing this option protects your company from allegations of unfair testing while maintaining the integrity of your program. The cost of independent retesting is typically borne by the employee unless the original result is overturned.
Pro tip: Create a monthly reconciliation report comparing samples you submitted to the laboratory with results received, flagging any missing results or unusually delayed processing times, which surfaces laboratory performance issues before they compromise your hiring timelines or create backlogs.
Simplify Your Drug Screening Workflow with Trusted Solutions
Managing a compliant and thorough drug screening process involves complex steps from protocol design to sample collection and laboratory verification. You need reliable testing products, certified lab partners, and clear chain of custody procedures that protect your logistics company from legal risks and help maintain a safe workplace. When urgency and accuracy matter, having a trustworthy resource that understands your operational challenges is critical.
CountryWideTesting.com provides an extensive selection of federally compliant urine and mouth swab drug tests, backed by partnerships with SAMHSA, ISO, CLIA, and CAP accredited laboratories. You can streamline every stage of your testing program—from ordering to result delivery—with confidence. Our platform supports employers like you who require precise, legally defensible screening solutions to stay ahead of compliance demands and safeguard your workforce.
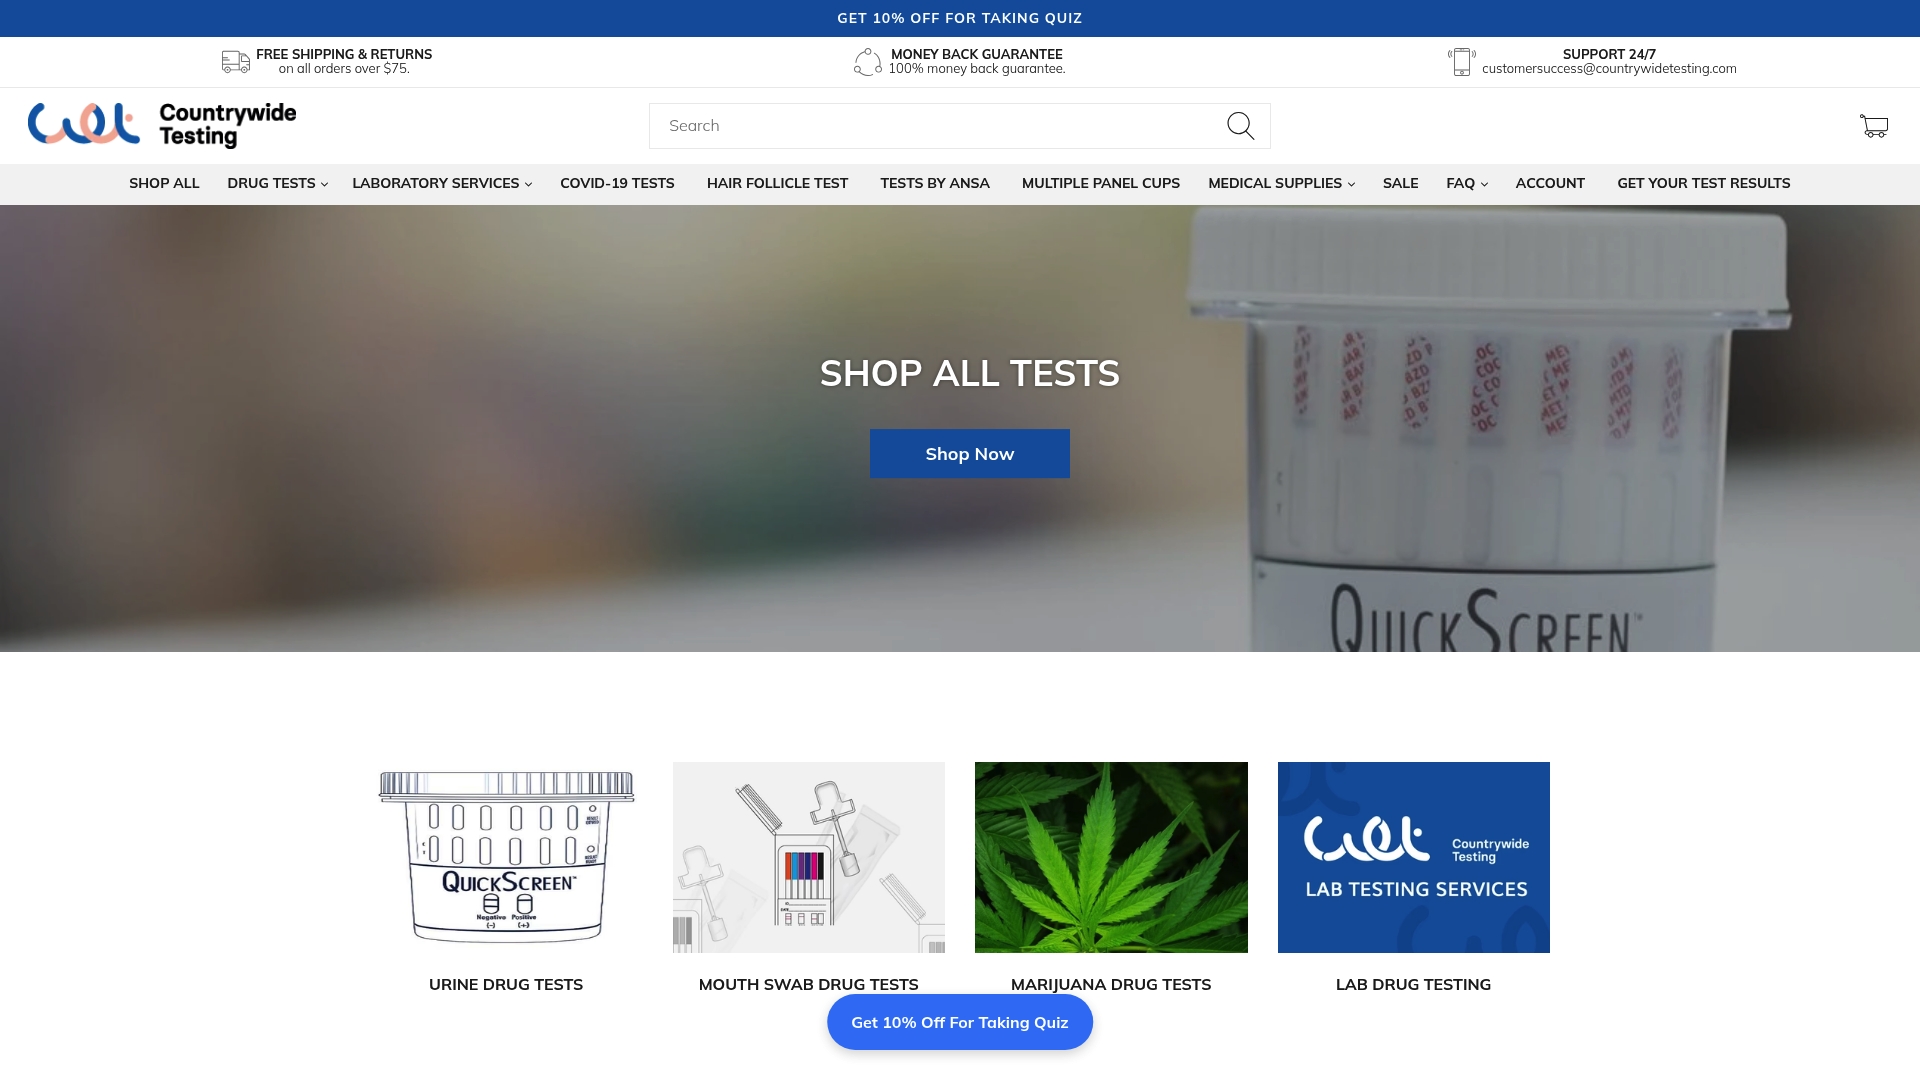
Take control of your drug screening workflow today by exploring the full range of testing products and lab services. Empower your HR team with trusted tools and expert resources available only at CountryWideTesting.com. Start simplifying your compliance process now and ensure your program’s success.
Frequently Asked Questions
What are the key steps in a drug screening workflow for HR Managers?
The key steps include establishing compliant drug screening protocols, selecting trusted testing products and partners, implementing sample collection procedures, ensuring secure sample handling and transport, and verifying laboratory analysis and reporting. Follow each of these steps carefully to create a robust drug screening program.
How do I ensure compliance with drug testing regulations?
To ensure compliance, review both federal regulations and state-specific laws that pertain to drug testing in your industry. Begin by assessing the legal framework that applies to your operations and document your findings clearly in your drug screening protocols.
What should I include in my drug testing protocols?
Your drug testing protocols should clearly define testing circumstances, privacy protections, chain of custody details, and consequences for positive results. Make sure to document who has access to test results and how you will handle potential discrepancies or appeals.
How can I select reliable laboratory partners for drug testing?
When selecting laboratory partners, look for those accredited by recognized certifying agencies and ask about their experience with logistics companies. Evaluate their turnaround times and confirm they provide Medical Review Officer services to manage any disputes or positive results effectively.
What should I do if a sample collection procedure goes wrong?
If a sample collection procedure goes wrong, immediately review the documentation and investigate any discrepancies. Establish a clear process for recollection and ensure that all collection staff are trained regularly to minimize future errors.
How can I verify laboratory analysis and reporting?
Verify laboratory analysis by checking that the report contains complete information, including employee details and the specimen type. Ensure that the laboratory used validated methodologies and confirm that any positive results underwent appropriate confirmatory testing.