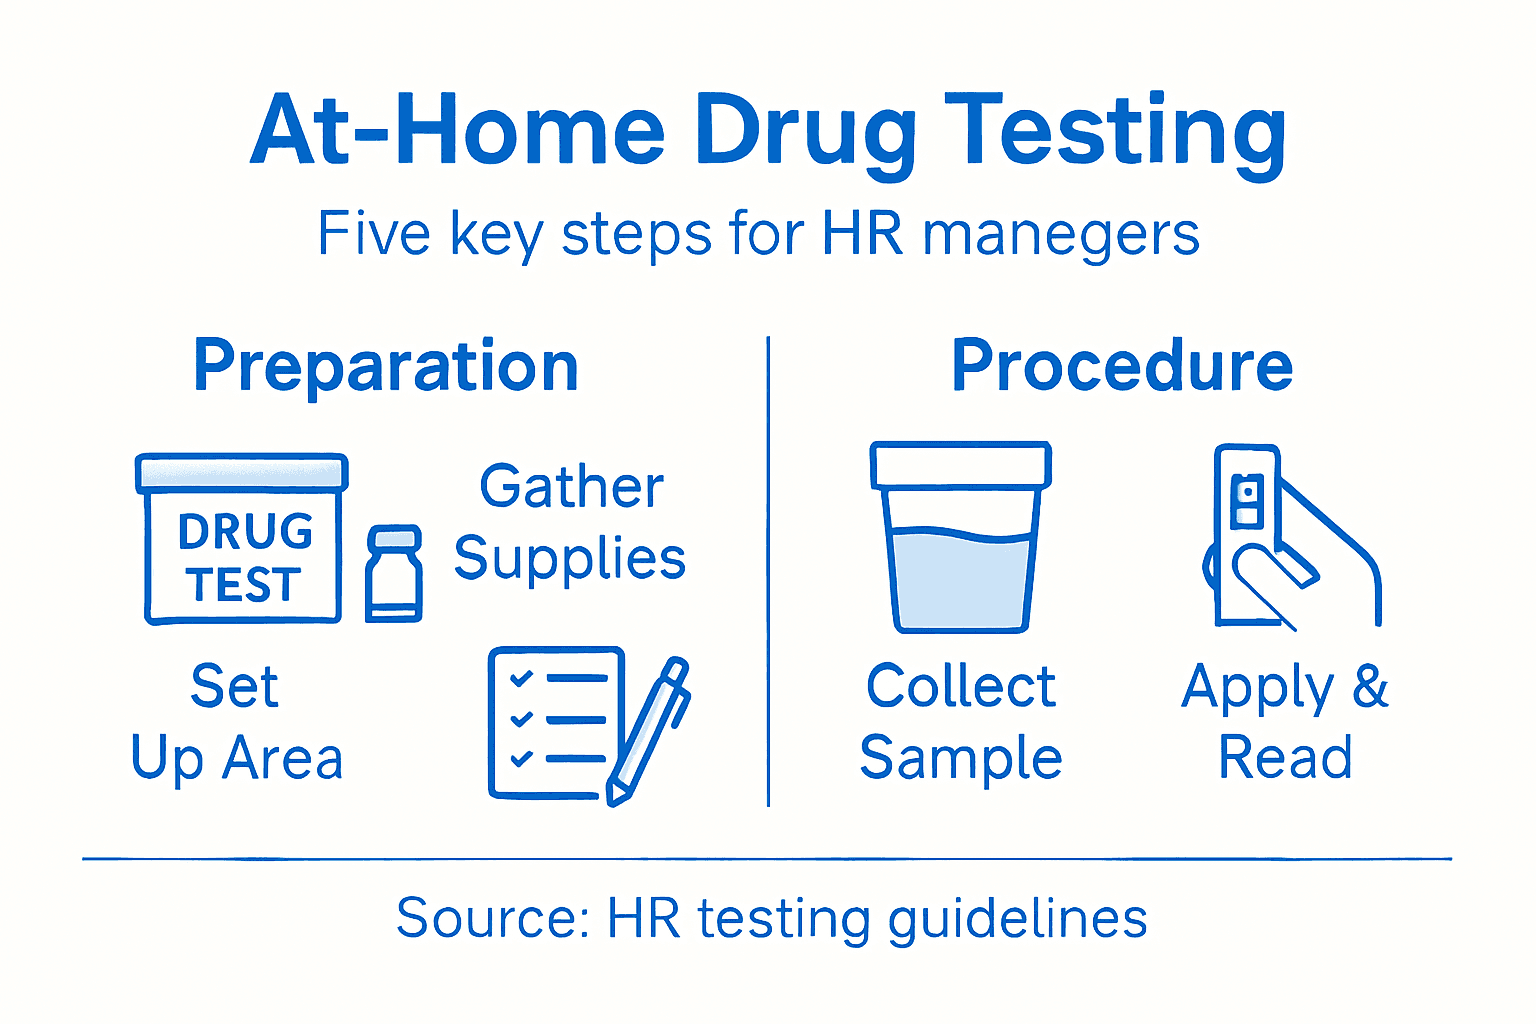
Accurate At-Home Drug Test Instructions for HR Managers
Managing at-home drug testing for a corporate team comes with pressure to get every detail right. HR managers across American offices face questions about privacy, compliance, and accuracy when rolling out workplace drug screening. With so much at stake, a well-organized testing process and clear procedures make all the difference for documented results that withstand audits and protect employee rights. This practical guide lays out each step, helping your team standardize testing and avoid costly missteps during employee compliance checks.
Table of Contents
- Step 1: Prepare The Testing Space And Collect Necessary Supplies
- Step 2: Read And Interpret The Drug Test Kit Instructions
- Step 3: Collect The Sample According To Best Practices
- Step 4: Apply The Sample Correctly And Initiate The Test
- Step 5: Review Test Results And Confirm Compliance
Quick Overview
| Main Insight | Clarification |
|---|---|
| 1. Set Up a Private Testing Space | Choose a quiet, clean area with good lighting for accurate test administration and privacy. |
| 2. Understand Test Kit Instructions | Review the entire instruction manual carefully to avoid errors and ensure compliance during testing. |
| 3. Verify Employee Identity | Have employees present identification before sample collection to maintain legal integrity and accuracy. |
| 4. Document Everything Thoroughly | Keep detailed records of sample collection, environment, and observations to support testing validation. |
| 5. Follow-Up on Non-Negative Results | Send ambiguous or positive test results to a certified lab for confirmation before making any decisions. |
Step 1: Prepare the testing space and collect necessary supplies
Before you administer your first at-home drug test, you need to set up a dedicated testing environment and gather everything you’ll need. This step takes just 15 to 20 minutes, but it makes the difference between a smooth process and one that creates compliance headaches down the road. Think of this as laying the groundwork for accurate results and documentation that holds up to scrutiny.
Start by selecting a private space away from foot traffic and interruptions. An empty office, break room, or dedicated testing area works best. The location should have good lighting so you can clearly observe the test and the sample. Poor lighting leads to reading errors, which means invalid results and employees who have to come back for retesting. Make sure the space is clean and organized. Dust off any surfaces, remove clutter, and create a calm environment that helps employees feel at ease during the process. According to effective testing program guidelines, maintaining a clean, well-organized, and private testing space directly supports the integrity and confidentiality of the entire drug testing process.
Now gather your supplies. You’ll need collection cups with security seals, latex or nitrile gloves in various sizes, antiseptic wipes or hand sanitizer, biohazard bags for disposal, and a secure storage container for samples before they go to the laboratory. Also stock paper towels, a waste bin lined with a plastic bag, and a clipboard with your testing documentation forms. If you’re administering oral fluid tests instead of urine tests, ensure you have the correct collection devices and protective barriers. The SAMHSA Drug-Free Workplace Toolkit recommends that employers equip testing spaces with collection cups, gloves, and secure sample storage to control environmental factors that could compromise sample integrity or employee privacy. Create a checklist of everything needed and verify your stock levels weekly. Nothing derails a testing day faster than discovering halfway through that you’re out of collection cups or gloves.
Arrange your supplies in a logical sequence before your first test. Place gloves, collection cups, and instruction sheets at an easy-to-reach station. Keep your biohazard waste container visible but away from the collection area. Store completed samples in a secure, temperature-controlled location until they’re ready for laboratory analysis. Label everything clearly so volunteers understand what goes where and when. If you’re handling multiple employees over several days, set up a sample tracking log to document collection times, employee names, and chain-of-custody information.
Pro tip: Keep your testing supplies in a clearly labeled, lockable cabinet in your office so they stay organized and secure between testing sessions. This also prevents unauthorized access and protects your documentation trails, which HR managers often need for compliance audits.
Step 2: Read and interpret the drug test kit instructions
Before you open the test kit or collect any samples, you need to thoroughly understand how the specific test works. Every drug test kit has slightly different procedures, timing requirements, and result interpretation methods. Skipping this step is where most errors happen, and those errors create liability issues for your organization. Spend 5 to 10 minutes reading through the entire instruction packet before you begin.
Start by reviewing the complete instruction manual that comes with your test kit. Pay attention to the exact steps required for sample collection, including how much sample you need and whether you should use a specific collection cup or applicator. Next, locate the section on timing. This is critical because many at-home drug tests require you to read results within a specific window, often 3 to 5 minutes after applying the sample. Missing this timing window can produce inaccurate results or results you cannot confidently interpret. According to detailed instruction guides for test procedures, users must thoroughly understand the procedural steps before starting the test, including sample preparation, timing, and correct application to the test device. Many HR managers miss this detail, then question why an employee is asking for a retest because the results looked unclear.
Now focus on the result interpretation section. This is where color changes, lines, or other visual markers indicate whether a result is negative, positive, or invalid. The manual will explain exactly what you’re looking for and what each possible outcome means. For example, one line might mean negative, two lines might mean positive, and no lines at all might indicate an invalid test requiring a retest. Understanding how to properly read and interpret drug test results requires knowing the test’s mechanism, the correct timing for reading results, and the difference between presumptive positive screens and confirmatory testing. Write down the exact color combinations or line patterns that correspond to each result so you can reference this information during actual testing. Consider photographing or printing the result interpretation chart and keeping it at your testing station for quick reference.
Also review any prerequisites or restrictions mentioned in the instructions. Some tests require that the sample be at room temperature or collected within a certain time frame. Others specify that the test environment must be above a certain temperature or that certain medications might affect results. If the manual mentions that presumptive positive results require confirmatory testing, make a note to discuss this with your employees upfront so they understand the two-step process. Create a simple checklist of the key instruction points and tape it near your testing area. This prevents you from accidentally skipping a step or misinterpreting results under time pressure.
Pro tip: Keep a copy of the instruction manual in a clear plastic sleeve at your testing station and run through the entire procedure yourself before testing your first employee. This practice run catches any confusion and builds your confidence so you can walk employees through the process calmly and professionally.
Step 3: Collect the sample according to best practices
This is where accuracy matters most. How you collect the sample directly determines whether your test results are valid and defensible. A poorly collected sample can lead to invalid results, retesting delays, and employee disputes about accuracy. Follow the process carefully, communicate clearly with the employee, and document everything as you go.
Begin by having the employee verify their identity using an acceptable form of identification. This step is often overlooked by HR managers conducting informal at-home testing, but it protects you legally and ensures you are testing the right person. Ask the employee to empty their pockets and remove any items that could contaminate the sample, such as tissue, gum, or candy. If you are collecting a urine sample, direct them to the restroom and have them use the provided collection cup. If you are collecting an oral fluid sample, have them follow the kit instructions precisely, which typically involve placing a collection swab in their mouth for a specific duration. Following controlled sample collection procedures helps avoid contamination or adulteration by using sterile containers, observing collection when required, and maintaining proper chain of custody documentation to ensure sample integrity.
Once the employee provides the sample, check the temperature immediately if you are using a urine test. Most urine samples should register between 90 and 100 degrees Fahrenheit. If the temperature is outside this range, the sample may be invalid or suspected of being adulterated. Record this temperature on your documentation form. Next, inspect the sample for clarity and color. Urine should be clear to slightly yellow. If it appears discolored, cloudy, or has visible particles, note this on your forms and consider requesting a new sample. Apply the sample to the test device exactly as the instructions specify, using the precise amount required and the correct applicator. Do not improvise or estimate the quantity. Proper sample collection guidelines emphasize verified identification, controlled sample receipt, proper labeling, and using specific containers as per test requirements to uphold legal and ethical standards.
The table below compares urine and oral fluid drug tests for at-home workplace programs:
| Aspect | Urine Test | Oral Fluid Test |
|---|---|---|
| Sample Collection | Requires restroom access | Simple swab in the mouth |
| Detection Window | Up to several days | Hours to 1-2 days |
| Tampering Risk | Moderate to high | Lower than urine |
| Storage | Needs temperature control | Easy, stable at room temp |
| Preferred Use | Routine/random testing | Post-accident/impairment check |
Label the sample cup immediately with the employee’s name, date, time of collection, and your initials as the person who collected it. Place the labeled sample in your secure storage container and never leave it unattended. If you are testing multiple employees across several days, store samples in a locked container in a temperature-controlled location away from direct sunlight. Maintain a chain of custody log that documents who collected the sample, when it was collected, when it was stored, and when it was sent to the laboratory. This documentation is critical if you ever need to defend your testing procedures in a dispute or legal matter. Photograph your completed documentation before sending the sample to the laboratory as a backup record.
Pro tip: Have the employee initial the sample cup label in your presence and have them watch you seal it in a secure bag or container. This witness element prevents any later claims that the sample was tampered with or mislabeled, protecting both you and the employee.
Step 4: Apply the sample correctly and initiate the test
Now comes the moment where precision matters. You have the sample, you understand the instructions, and you have documented everything properly. The next phase is applying that sample to the test device and starting the clock. One mistake here, and you could invalidate the entire test, forcing you to start over with additional documentation and employee time lost.
Look at your test device and locate the sample application area. This is typically marked clearly on the test strip or cup with a label such as “S” for sample or an arrow pointing to the collection zone. Before you apply anything, make sure you have the exact quantity specified in the instructions. Some tests require only 3 to 4 drops of urine, while others need a larger volume. Using too much sample can oversaturate the test device and produce false results or invalid readings. Using too little can result in incomplete test reactions and inconclusive outcomes. Hold the collection cup steady and apply the appropriate sample amount precisely onto the designated spot without oversaturation, as the manufacturer specifies. Take your time with this step. There is no rush, and hurrying leads to spills or incorrect application that wastes your sample and requires recollection.
Once you have applied the sample, set a timer immediately. Note the exact time on your documentation form. Most at-home drug tests require 3 to 5 minutes for the chemical reaction to complete and display results. Some tests may require up to 10 minutes. Do not disturb the test device during this waiting period. Place it on a flat, clean surface away from direct sunlight, extreme heat, or cold. Environmental factors can affect how the test develops. According to detailed test application instructions, following timing and environmental conditions closely is essential to avoid invalid or inconclusive results, and you must read results within a defined window to prevent misinterpretation. While you wait, do not leave the test device unattended. Stay in the testing area and keep the device in view. This prevents any questions about whether the sample or test was tampered with or accidentally exposed to contaminants.
As the timer counts down, prepare your result documentation form and have your reading reference chart nearby. With 30 seconds remaining on your timer, move to where you can clearly observe the test device. Good lighting is critical now. Poor lighting can cause you to misread color intensity or miss subtle line formations. When your timer reaches zero, read the results immediately. Do not wait 10 more minutes and then look. The longer you wait past the specified reading time, the less reliable your interpretation becomes. Some tests can develop false lines or fading lines if read too late. Document exactly what you see on your form, including the number of lines, their intensity, and their location on the device. If the result is unclear or ambiguous, take a photograph with your phone as a backup record. This photograph serves as evidence of what you observed and protects you if an employee later disputes your interpretation.
Pro tip: Set two timers on your phone during the waiting period, one for when you should prepare to read the results and one for your final reading deadline. This prevents you from accidentally reading results too early or too late, and it keeps you accountable to the exact timing the test manufacturer specifies.
Step 5: Review test results and confirm compliance
You have completed the test and documented what you observed. Now comes the critical phase of interpreting those results accurately and ensuring your entire process meets legal and organizational standards. How you handle this step determines whether your testing program protects your company or exposes it to liability. Take time to review everything systematically before communicating any outcomes to the employee.
Start by examining your documentation. Review the test result form you completed, including the exact time the test was read, the environmental conditions during testing, and your observations about the sample quality and test appearance. Compare what you recorded against the result interpretation chart from the kit instructions. A negative result typically shows one line only, while a positive result shows two lines or a specific color change pattern. An invalid result shows no lines or an unclear pattern. If your result is clearly negative, you can document this straightforwardly and inform the employee. However, if you observe any ambiguity or uncertainty in reading the result, do not guess. A presumptive positive result requires careful review and confirmation to distinguish between screening tests and confirmed positives verified by certified laboratories, as employers and HR managers must understand this distinction before making employment decisions.
Here’s a summary of common at-home drug test result types and their next steps:
| Result Type | Visual Indicator | Next Required Action | Legal Standing |
|---|---|---|---|
| Negative | One line or color clear | Document result, confidentially file | No further action needed |
| Presumptive Positive | Two lines or color change | Send to certified lab for confirmation | Cannot base decisions yet |
| Invalid | No lines or unclear mark | Retest with new sample | Original test not admissible |
For any non-negative or unclear result, the next step involves sending the sample to a certified laboratory for confirmatory testing. This is not optional for positive results. At-home drug tests are screening tests only and do not constitute legal proof of drug use. You must send the sample to a laboratory that meets regulatory standards such as SAMHSA, CLIA, or CAP certification. CountryWideTesting.com can facilitate this process by connecting you with certified laboratories that handle confirmatory testing. Do not make any employment decisions based solely on the at-home test result. Wait for laboratory confirmation. Additionally, if your company uses a Medical Review Officer, that person should review the positive laboratory result before any final determination is made. The Medical Review Officer verifies that prescriptions or legitimate medical reasons do not account for the positive result. This step protects both your company and the employee by ensuring fairness and legal compliance.
Once you have the laboratory confirmation or confirmed negative result, verify that your entire testing process followed company policy and applicable laws. Ensure that legal procedures and employee rights were followed throughout testing, that results remain confidential, and that actions taken are consistent with federal and state regulations. Check that you collected the sample properly, maintained chain of custody, documented everything accurately, and stored results securely. Confirm that the employee was treated fairly and that you did not violate their privacy or rights under the Americans with Disabilities Act or other laws. If you conducted the test as part of a pre-employment screening, a post-accident investigation, or a random testing program, verify that the procedure matched your established policy. If everything aligns with your policies and legal requirements, you can proceed with any necessary actions. If a positive result was confirmed, follow your company’s established protocol, which may include offering the employee an opportunity to participate in an Employee Assistance Program or rehabilitation services before termination.
Pro tip: Create a simple checklist of compliance verification items and review it after every test, even negative ones. This consistency builds a documented record that your testing program follows procedures correctly, which protects your company if an employee ever challenges your results or claims unfair treatment.
Ensure Reliable At-Home Drug Testing with Trusted Solutions
Accurately following at-home drug test instructions can feel overwhelming for HR managers juggling compliance and employee privacy. This article highlights key challenges such as proper sample collection, timing precision, and correct result interpretation to avoid costly errors or employee disputes. If you want to eliminate guesswork and streamline your testing program, professional-grade testing kits paired with certified laboratory services are essential.
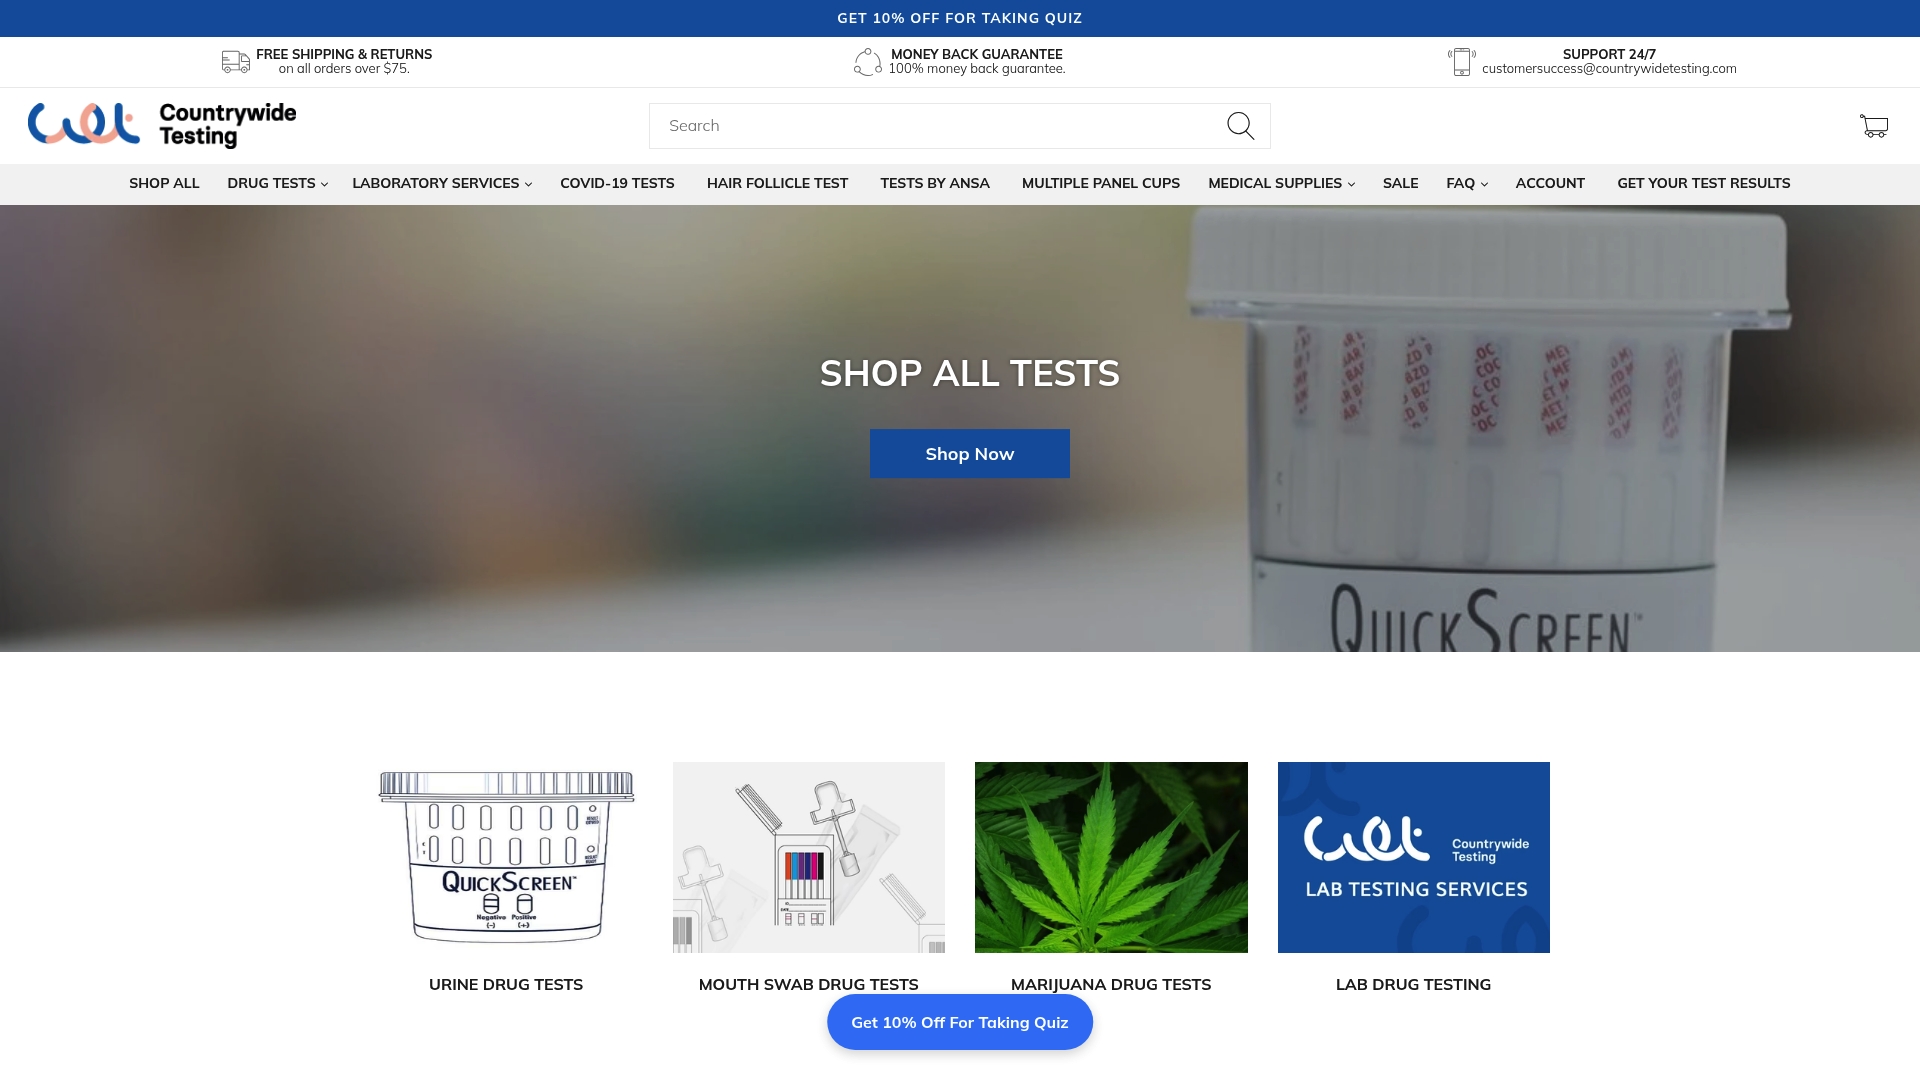
Take control by partnering with CountryWideTesting.com, your comprehensive source for reliable urine and oral fluid drug test kits that come with clear instructions and meet industry standards. With direct access to licensed labs certified by SAMHSA, ISO, and CLIA, you can trust the integrity of your confirmatory testing process. Visit CountryWideTesting.com now to browse testing options designed to support employers like you who want to maintain compliance confidently and protect their workforce. Don’t wait until a testing mistake puts your organization at risk. Start your safer, simpler testing journey today.
Frequently Asked Questions
How can I prepare the testing space for at-home drug tests?
To prepare the testing space, choose a private, well-lit area away from foot traffic and interruptions. Clean the space thoroughly and organize supplies like collection cups, gloves, and documentation forms to create a calm and efficient environment for testing.
What supplies do I need for accurate at-home drug testing?
You’ll need collection cups with security seals, gloves, antiseptic wipes, biohazard bags, and a secure storage container for samples. Ensure you also have documentation forms and a checklist of supplies to verify levels weekly before testing.
How should I interpret the results of at-home drug tests?
To interpret the results, carefully follow the instructions for reading the test device within the specified time frame. Document what you observe, including color changes or line patterns, and ensure you recognize the difference between negative and positive results to avoid misinterpretation.
What steps should I take if a drug test produces a presumptive positive result?
If you encounter a presumptive positive result, promptly send the sample to a certified laboratory for confirmatory testing. Do not make employment decisions based solely on the at-home test results to ensure legal compliance and fairness.
How can I ensure compliance and protect my organization during the testing process?
To ensure compliance, verify that all testing procedures align with your company policies and applicable laws. Review your documentation and chain of custody logs to confirm that all steps were properly followed and maintain confidentiality throughout the process.
What should I do if I suspect tampering with a drug test sample?
If you suspect tampering with a sample, document any irregularities immediately and request a new sample from the employee. Maintain a clear chain of custody and ensure accurate documentation to protect both the organization and the employee’s rights.